Showing posts with label restyle. Show all posts

Wednesday, March 4, 2015

Restyle: How to make curtains longer


I found this blog post in the archives, never published, but written months ago. Luckily, it was not the kind of post that gets outdated, so here it is.

For our bedroom update we decided on a simple solution for our clothes storage. Instead of buying a new wardrobe, we used dressers and furniture I already had. But the results looked a little messy, so I thought it would be perfect to hang some curtains to hide everything, and maybe keep the dust at bay a little more.

We found some cheap curtains on sale, but forgot to check the length, and they ended up being about 15 cm too short. In addition, they had loop tape on the back, which wouldnt really work with the curtain rods. The solution was to add fabric hoops on the top, and also take the hem down some.


Cut strips of fabric twice the length you want + 6-10 cm for seam allowance. Fold lengthwise, sew down the middle and turn inside out. Press the seams in the middle.


Sew onto the top of the curtains. I placed one loop every 10 cm, using 10 loops for each curtain. Voilá, curtains that reach from the floor to the ceiling!


Sunday, July 27, 2014

Restyle Sunday: Drawstring pouch


"An old shirt with stains that won´t come out, 
gets a new life as a drawstring pouch."

My husband (!) said he wanted a drawstring pouch, and I offered to make him one. I had never done it before, believe it or not, but the construction is really simple. I offered him a few options from my stash of fabric, and he decided on this one from a shirt that got ruined. After making one of these I would like to make a few more. They are perfect for traveling, to keep socks and underwear in one place, or as a shoe bag. This tutorial is for a pouch with lining. If you make it without a lining there will be a lot less work.

1. Cut two rectangles from the back of shirt, one slightly bigger than the other. My measurements were 19,5 cm x 62 cm and 19 cm x 56 cm, but you can scale up or down in any direction depending on what you will use it for.


2. Sew the sides together all the way on your smallest rectangle, but leave 4 cm at the top on the largest one. This is will be the opening for the drawstring.

3. Fold the top of the lining over 1,5 cm and press.
Turn the other pouch so your seams are on the inside, fold the top over 3 cm and press.


4. Flip both of the pouches. With the "wrong side" of the fabric facing each other, put your smallest pouch over the largest. Pin together 1,5 cm from the top, leaving an opening for the drawstring on each side, and sew together.


5. Flip the pouch again, and sew a topstitch along the edge for stability.


6. Thread your strings, tie them together, and you are done!

Monday, May 19, 2014

Restyle: Floppy straw hat


When we cleaned out our office building, I found this straw hat. In all likelihood it would have ended up on the dump if I hadn´t rescued it in the 12th hour... That sounds little dramatic perhaps, just like the drama of this huge floppy hat! I think it will be perfect for the summer, on the beach or in the park, providing some shade for my fair skin. The rose ribbon was the only problem. An easy fix, as all I had to do was to rip it off and attach a new one.


I used a glue gun to attach the new black ribbon, and secured it with a few stitches here and there around the hat, just like they had done with the old ribbon. Now the hat looks a lot more classy, and I am ready for some hot summer days.


And my hat box was almost used for its intended purpose, it is just slightly too small. 

Tuesday, February 11, 2014

Bringing back Restyle Somedays with Rugs

Does anyone remember when I had a Restyle Sunday feature? (You can find my previous restyle projects here.) I am thinking of bringing it back, and have a list of projects that I can tackle, but my fiancee gently advised me to make it a "Somedays", not weekly commitment. I am giving it a go, so here is the first project of the new year: Sewing rugs together.

When I first bought these rugs a couple of years ago I imagined that one day I might sew them back together. Ever since that day, it has been a hassle to vacuum them, and they always seem to slide around. I was not the one most annoyed, but my roommate and my boyfriend never liked it. With a new rug for the couch area, it was time to do something about these two. 

Two rugs.

The tools: pinning needles, thimble, scissors, thread, and sewing needles.

Sew large stitches from one end to the other. The rugs will get heavy as you go along, but if you treat them like a sturdy, but cozy blanket, you will be fine. Also, I didnt start pinning until I was well over halfway done. Things were getting a little skewed, but it worked out in the end. Another tip is place the rugs next to each other and use electrical tape on the back to keep them in place while you sew. 

A close up of the slightly uneven stitches. If you choose the right color thread, no one will really know. 


Tada! One large rug!  I see now that some ironing wouldn´t have hurt, but who irons rugs?? 

Do you have any restyle or DIY projects planned? 

Monday, November 18, 2013

DIY Christmas gifts

After writing about alternative Christmas gift, I got a lot of response. By request, I am sharing some of the ideas with you :)

- Herb salt. This sounds super-easy!
- Knitted socks. A little more time consuming perhaps...
- Home made vanilla sugar. Recipe here.
- Candy/chocolate. Who wouldn´t be excited to receive delicious treats? 
- Personal cards. No generic greetings here! 
- Give to charity on behalf of someone. Give a water tank to Vietnam, or jet fuel to MAFs planes.

And here are some easy DIY projects I have done in the past: 


- Mittens from felted wool. Use a sweater you accidentally shrunk, or buy 2nd hand ones and felt them in the washing machine.


- Pillow case from an old sweater


Or perhaps you prefer something edible?


I hope this got you thinking, and perhaps you can use some of these ideas yourself. What is your favorite? 

Monday, May 13, 2013

A hanging planter


Hanging planters are back folks! At least if you ask the bloggers and people I follow on pinterest. The idea started to grow on me, so last weekend I went to the biggest thrift store in town, Skrot Tor. The owner, Tor, has a huge warehouse full of "skrot" (trash), and if you are good at searching, you can find some real treasures, and he gives great prices too.


He probably had hundreds of planters, but few suitable for hanging, and none of the kind that I liked. I was set on getting one though, and settled for a nicely shaped planter in colors I disliked. I don´t have a before picture, but just try to imagine it wasn´t the prettiest. Once home (or a few days later), I spray-painted it with paint I already had, replaced the broken twine and hung it in my kitchen window. Cute or what?

Sunday, January 20, 2013

Restyle: Patch him up!


This vintage thrifted Benetton sweater is a favorite. The softness and comfort is no surprise, since there is 22% angora in it. 

Unfortunately it had lots of tiny little holes, and with no shopping in addition to my love for this garment, mending was in place. I decided to add elbow patches (found in my sewing kit), and lots of stitches later, I am happy with the result. I am very grateful I know how to use a needle and some thread! 


PS. I added a category and page for all resolution related posts: Live Simply.

Thursday, November 8, 2012

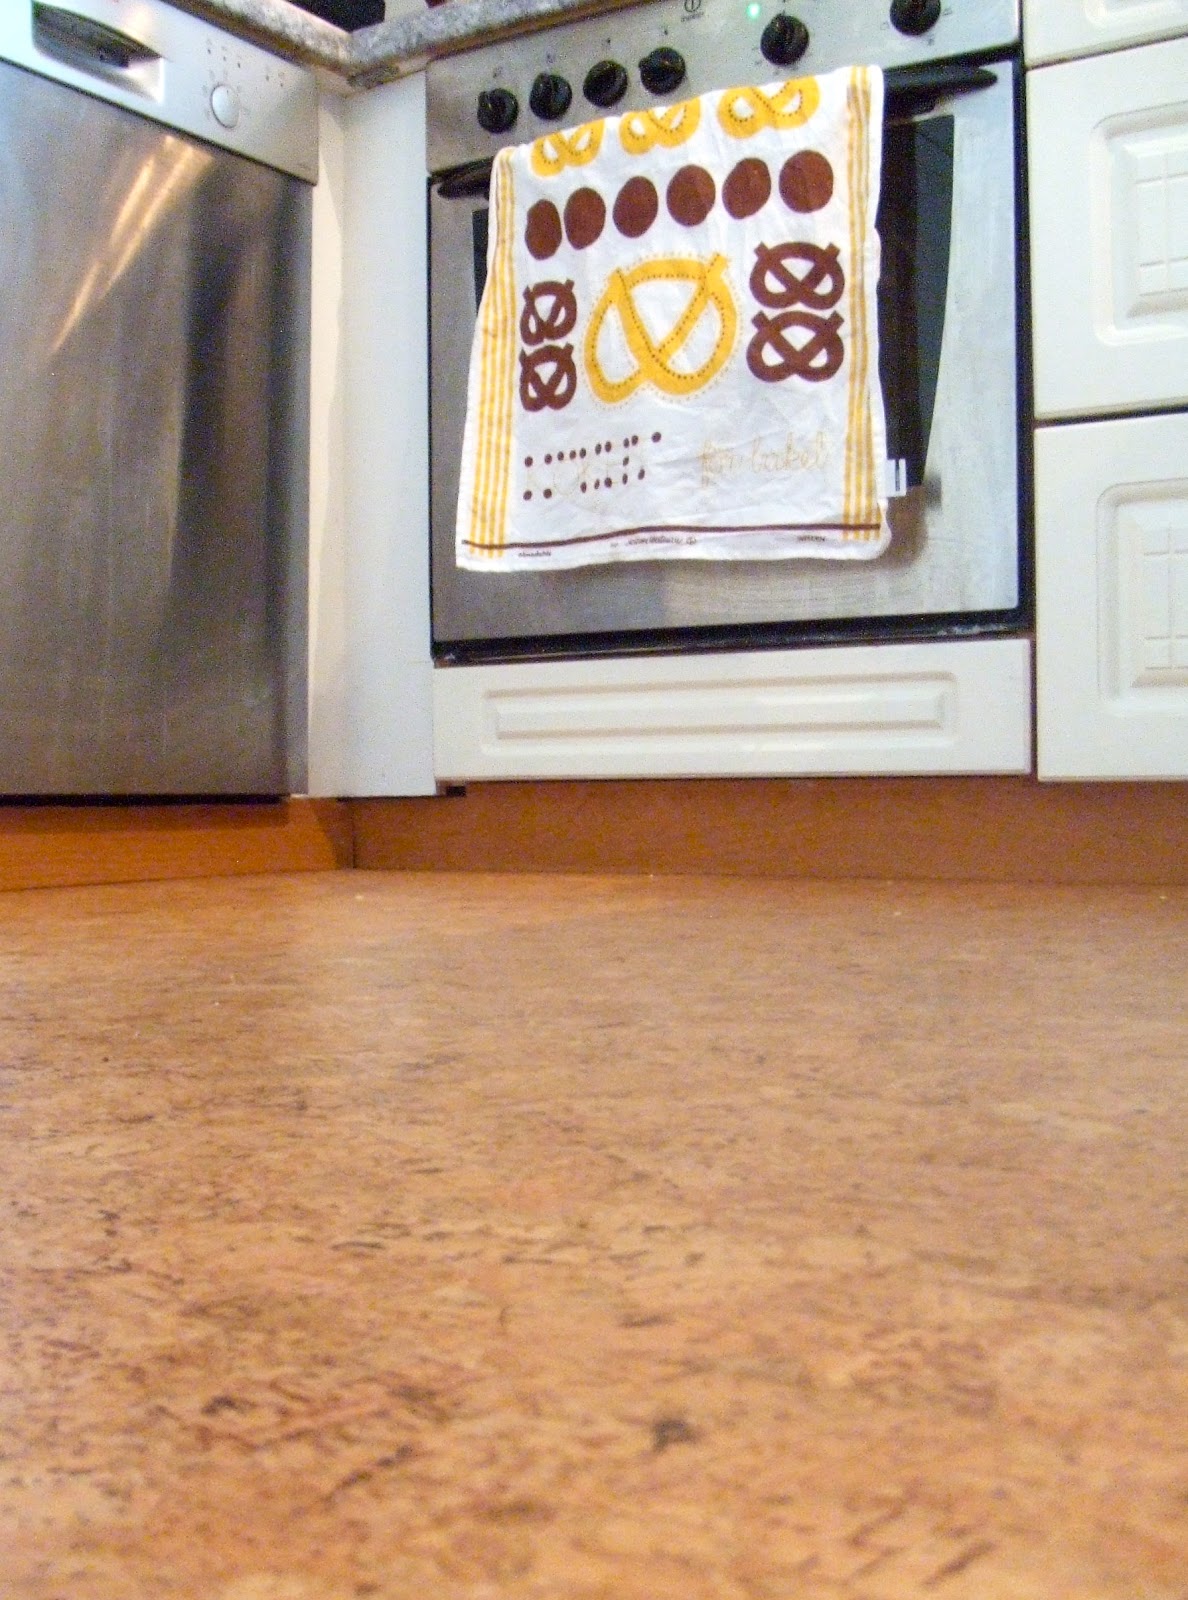
ReStyle: Home Edition no.4 - Corky


In September, my parents came to help me with some projects in the house. Mainly the balcony makeover, but other projects were added to the list. I had thought about the idea of doing something to the kitchen floor, but wasn´t sure I had money for it, or if we would have time. 

This is what the kitchen looked like before:
(Well, a little into the process anyways...)


Cold, dark, hard (and did I mention cold?) tiles. I never liked them, and my feet were always cold. That is not good for a girl who likes to cook! 

When I mentioned this for my dad, his first suggestion was a cork floor. I was intrigued, but when I realized he was thinking of floors from the 70s, I wasn´t quite convinced. Looking online, it didnt seem like the most normal thing to have in stock, and the price was a little too steep for my liking. Then my mom came, and her idea was also cork! By then I was sure we would have to wait, since we were running out of time, but Friday afternoon we passed by a store that sells flooring. 

"Lets have a look, since we are here anyways," I said. We stopped by, and the first thing I saw when I entered, was cork flooring on sale. It didn´t take long for the sales guy and my mom to convince me. Thus, Friday night was spent tearing up the old floor, and Saturday morning the new floor was on. 


Now I have a soft, warm and pretty floor that I highly recommend.
What do you think?

PS. Other home restyles here, here and here. 

Saturday, October 6, 2012

DIY inspiration from Jenny Skavlan

I came across this excerpt from a refashion book by Jenny Skavlan. Check it out for some easy DIY inspiration (and maybe you will put the rest of the book on your wishlist?

Thursday, October 4, 2012

Restyle: Home edition no. 3 - The Balcony

I thought I liked my balcony. But that was before it got a major makeover!
If you need a reminder of the before look, here is one, and another one here.

My dad is both handy and kind, so he offered to come down here for a few days to work on some projects in the apartment. The initial plan was to improve the balcony, but we found time for a lot of other things as well. 

This is what the place looked like before I went to work Thursday morning: 


And a couple of days later, voila! 
My view is a very different one. 


What do you think?
Do I have the best dad or what?


The stairs now serve as seating for several people,
and there is some bonus storage in the bench as well.
Also, did you notice that there is no hole above the door anymore? 


It is only a little sad that the outdoor season is over. I might try to extend it a little with some help from wool blankets and cups of tea...

Good thing we made some indoor improvements as well! 

Plastic rug, Søstrene Grene
Lantern, early birthday gift from my mom!
Wire basket and planters, thrifted/found

Saturday, September 8, 2012

Restyle: Sleek mirror

I can´t find any before pictures of this mirror, but trust me, it looked dull and tired and needed to freshen up a lot. I picked it up at a flea market for 30 kr, not bad for a solid wood frame. The weight of it scared me from hanging it without more professional help (my dad), and somehow, I think that testifies to its quality. Am I right? 

Well, some spray paint and the sacrifice of an old rug later...


I like it a lot. 


And the lights! I´ve been wanting cafe lights for a long time. This is the cheap LED kind from Clas Ohlson, and perhaps they will move outside to the balcony later, but for now, I think they are perfect here in the living room. 


Sunday, March 18, 2012

ReStyle Sunday: Permanent table cloth

I am trying to bring ReStyle Sunday back. Did anyone beside me miss this weekly feature? I dont know why I stopped. Perhaps my last project, the reupholstered chair, was a feat too hard to surpass, or maybe I had subconsciously limited the project to 2011. Anyhow, I will try to focus a little more on my creative sides, and documenting it here. 

This week´s project has been on my mind for quite a long time, but I was waiting for warmer weather.


Take one tired looking side table (bonus: storage inside!)


Pin a doily to the top and go crazy with spray paint! I used a whole can, is that normal? I am a newbie in this spray can business, and I find it a lot harder than I originally thought it would be. 


The many imperfections were more visible after painting, but all in all, I like at lot more like this:


I put it in the guest/craft room, which slowly is becoming what I want it too. Some key words are bright and cheery colors and vintage fabric. Here is a little sneak peek of the bed. And I promise to show the rest, it just needs some more work first.


Thursday, March 8, 2012

Counting down


It is time to take a deep breath. Or several... 
I am getting ready for my analogue week, planning crafts, cooking and other blog worthy activities that I probably won´t write about later because there simple isn´t enough time. Some of the things on my list include decorating the spare room, hanging a new lamp, baking, spray paint and listening to the radio. Last night I dusted off my CDs. I guess I will have to listen to music I have, as opposed to all the music I dont have. 


I have new glasses! These are from Lensway and came in the mail the other day. It had been six years since I got my previous pair, and even though I wear contacts a lot, I was ready for a new pair. 
I like this retro look, do you? 

If anything exciting happens in the virtual world while I am away, leave me a link, okay? Until then you can reach me on the phone or with an old fashioned letter. 
Have a great week! 

PPS. The tablecloth in the first picture is actually a curtain. Im not sure it can be called restyling, but it certainly qualifies for repurposing in my book. 

Friday, December 30, 2011

2011: Some highlights

2011 was the first year I blogged from beginning to end. It is so much fun to have memories recorded this way. Looking back on the year, here are some of the highlights:

January:

One of the before´s


February: 


March:
(I was intrigued again this Christmas by the recent movie) 


April:


May:
My very own home! (not much time for blogging...) and seeing Sufjan

Picture by Jordan Sanchez

June:


July:


August: 
A good month for restyling and festivals

Restyled table

September: 


October:

Teammates in Macedonia


November: 


December: 


Thank you so much to all of you who follow, read and comment here on this little blog, I am grateful that you take time reading my stories! What about you, what are some of your highlights this year?


PS. If this wasnt enough, the full archives can be found on your right hand side, where you can browse by date or category.

LinkWithin

Related Posts Plugin for WordPress, Blogger...