Showing posts with label envelope liner. Show all posts

Monday, February 16, 2015

52 Postcards for 2015


One of my goals for 2015 is to send a letter or postcard every week. Last year I sent lots of mail, most of it wedding related, and I miss putting stamps on envelopes and writing to my friends and family, so this little project will make sure I get it done. 

So far I have sent a few birthday cards, but there doesnt really have to be an occasion to send mail, right? I also hope to practice writing some actual letters. And now that I know how to make an envelope liner, I should do that more often as well. 

Would you like to receive mail from me? Just comment on this post with your address (unless you know I already have it) and you will get something pretty in your mailbox some time this year! Writing back is no requirement, but it would make me happy.

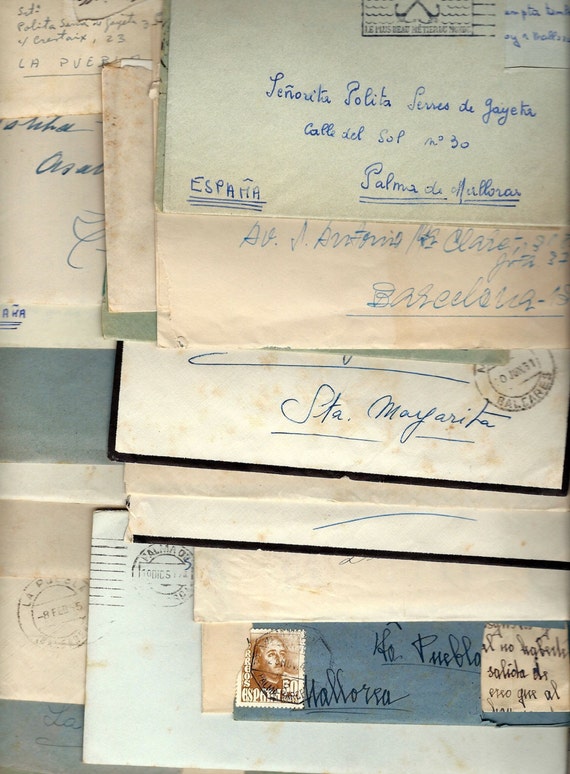
PS. If you prefer vintage letters (in Spanish) you can get yours from Etsy seller Blue Grizzle Paper.

Wednesday, April 23, 2014

Envelope liner DIY

I got the question of how I made the envelope liners for our wedding invitations, and thought maybe some others would be interested as well. It is a very simple way of making your mail fancy and extra special.


What you need:

- The envelope you want to line
- Paper for lining
- Paper or cardboard for template
- Ruler
- Pencil
- Scissors
- Glue


STEP 1: Measure your envelope. Subtract a few millimeters from each side, and keep in mind angles like the one above. You can let the liner stick half way down the envelope like I did, or line the whole thing. This isnt really necessary, and if your liner is expensive, this will cut the costs.


STEP 2: Make a template on sturdy paper or cardboard. Be more accurate than the drawing above suggests. (It´s not my actual template - I cheated a little bit)


STEP 3: Make sure your template fits the way you want inside your envelope. Here the sides are slightly more angled than the envelope, which you may or may not believe was done on purpose.


STEP 4: Cut as many liners as you need, with the help of your template and a good pair of scissors. You can also use a paper cutter if you have one. 


STEP 5: Glue your liner to your envelope. To avoid wobbly paper, let it dry under a stack of books or something, to keep it nice and good looking.

Voilá! You have a pretty lined envelope! 

LinkWithin

Related Posts Plugin for WordPress, Blogger...